Plug-and-Play KlipperScreen for the TwoTrees SK1
Like I wrote on my review, the TwoTrees SK1 comes with a somewhat serviceable, but quite buggy screen that uses the Nexion UI toolkit. At the time I was already able to use CYD-Klipper to have a remote display, but I’ve been investigating ways to get KlipperScreen working, and finally set up a single-cable, plug-and-play solution:

Of course, this didn’t just spring forth fully formed from my head. The first thing that came to mind was to install KlipperScreen on the controller board and add an external display of some sort, but the SK1 does not have any usable display outputs–so I briefly dallied with the idea of building an ESP32 client and render KlipperScreen in-memory.
Dusting Off the HyperPixel
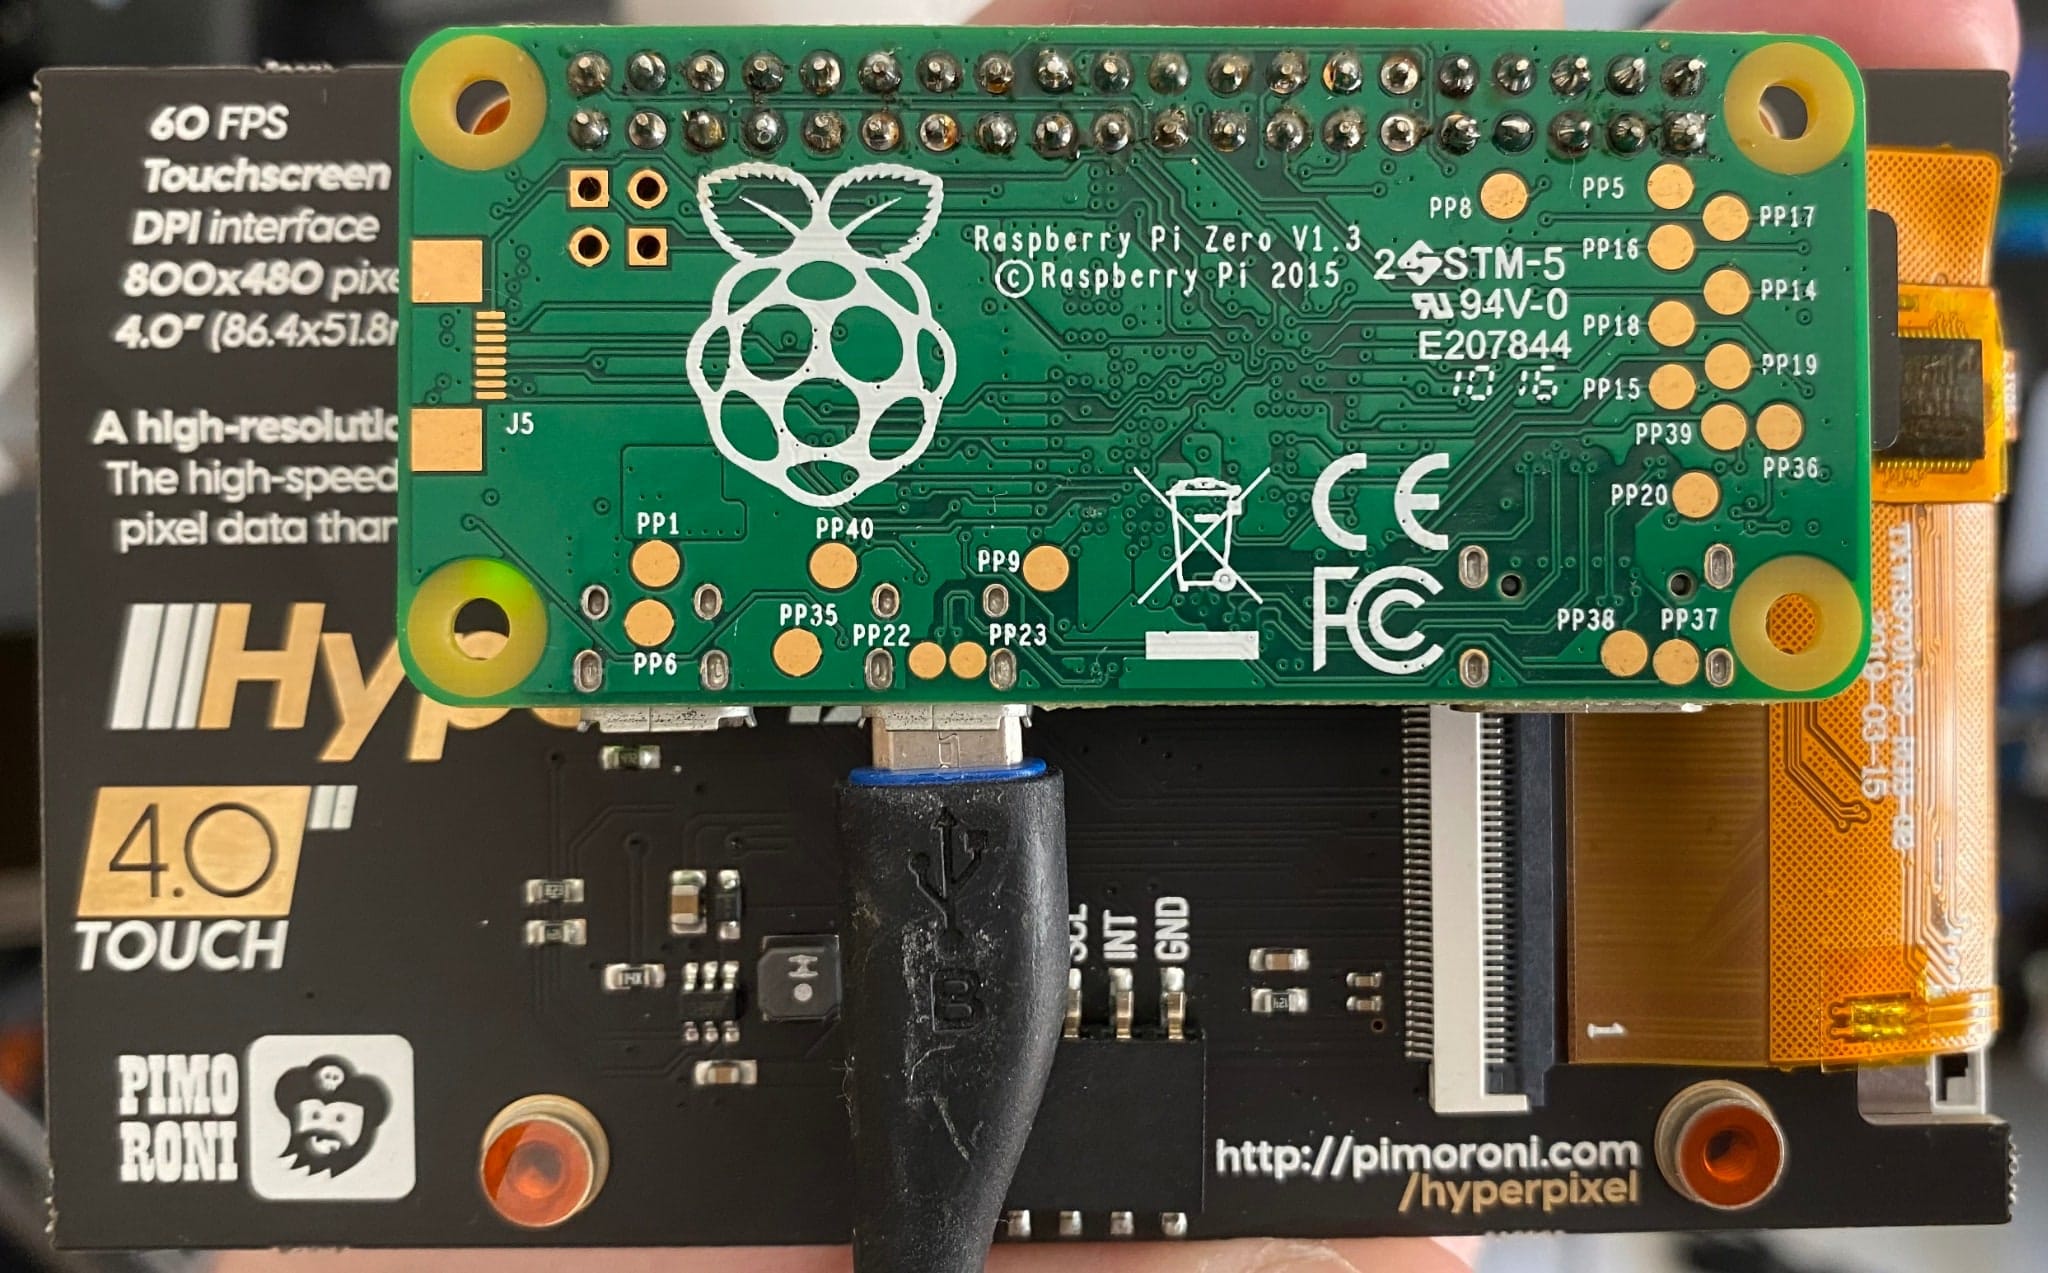
I had a HyperPixel 4.0 touchscreen display gathering dust, so I decided to do a few tests with fbvnc and a Pi 2 to try out the concept. However, getting bookworm to work with that display was bit of a challenge.
Even considering that Raspbian actually ships with the driver, I just couldn’t get screen rotation to work at all in frame buffer mode, and none of the magical dtoverlay incantations seem to work–furthermore, digging into GitHub quickly made it apparent that there are other support priorities, so these screens have effectively less support than the cheap Chinese clones I got for my Klipper installs two years ago.
But about halfway through I realized that installing X11 on the SK1 would be too intrusive and impractical (I have been trying to minimize tweaks to the on-board software), so I started pondering other alternatives.
Side Quest: Ethernet Gadgetry
Then I caught sight of my Radxa Zero and realized I could take my last remaining (non-Wi-Fi) Raspberry Pi Zero, set up USB gadget mode on it and use that for networking:
# cat /boot/firmware/config.txt
# Manually add the following to /boot/cmdline.txt after "rootwait"
# modules-load=dwc2,g_ether

# and append the following:
[all]
# Enable Ethernet gadget
dtoverlay=dwc2
# Enable display
dtoverlay=vc4-kms-dpi-hyperpixel4
But bookworm now ships with NetworkManager, and that breaks my previous recipes for getting that to work. Eventually I also realized that the USB gadget interface was not being enabled on boot, so I just replaced NetworkManager with systemd-networkd instead and forced the interface to come up:
# cat /etc/network/interfaces.d/usb0
allow-hotplug usb0
auto usb0
iface usb0 inet auto
iface usb0 inet6 auto
I also set up DHCP for that interface so that I wouldn’t need to configure anything on the SK1:
# cat /etc/systemd/network/usb0.network
[Match]
Name=usb0

[Network]
Address=172.21.1.1/24
DHCPServer=yes

[DHCPServer]
PoolOffset=2
PoolSize=1
This ensures that the Ethernet gadget will automatically assign any computer connecting to it IP address 172.21.1.2, which will come in handy later.
Side Quest: SD Card Juggling
After testing this, I took the SD Card and put it back into the Pi 2 to make it easier to install KlipperScreen plus a few system packages like avahi and chrony that I knew I would need.
After that, I set KlipperScreen to try to connect to the SK1 upon startup, and plugged everything together:
# cat printer_data/config/KlipperScreen.conf
[printer SK1]
# Define the moonraker host/port if different from 127.0.0.1 and 7125
moonraker_host: 172.21.1.2
# ports 443 and 7130 will use https/wss
moonraker_port: 7125

The advantage of this setup is that I can now plug the Pi Zero into the SK1 and have it boot up and connect to the printer automatically without Wi-Fi or any other configuration.
The Zero is isolated from the Internet, though, so I have to ssh to it from the SK1 to tweak anything–but that’s a small price to pay for the convenience of having a plug-and-play setup.
Clock Finesse
But since the Zero is isolated from the Internet, I had to set up a local time server on the SK1 to provide time to the Zero and have sane timestamps on the screen:
# SK1
# cat /etc/chrony/chrony.conf
local stratum 8
allow 172.21.0.0/16
I was a bit stumped by the fact that the Zero was not syncing its clock, but then I realized I had to set the stratum (and allow for forced time jumps):
# Zero
# cat /etc/chrony/chrony.conf
# append these
local stratum 10
allow 172.21.0.0/16
makestep 1 -1
And that’s it. So far, I’m happy with the results, except for the fact that the Zero takes a while to boot up and connect to the printer–something I might be able to speed up by tweaking the boot process.
Mounting it on the printer should be fairly simple, since the SK1 is prepared to have a USB camera mounted inside the print volume, and I can run the cable alongside the existing wiring.
I’ve started designing a mount for the HyperPixel 4.0, and will post the STL files once I have them printed and tested–I can certainly re-use the existing display mount, but the main option I’m considering is to design something that can hold both displays side by side, since I still have some hope that the original display will get a firmware update that fixes its issues.


